Are you planning to move and your recliner seems to be giving you a bit of trouble due to its size? This shouldn’t be the case because recliners can be taken apart to enable easy movement.
Allow us to show you how to take apart a recliner in this step-by-step guide. We are certain by the time you are through reading this; you’ll be a pro at taking apart recliners of any kind.
If it is just your recliner footrest that is faulty, find out how to fix it here.
Taking a Recliner Apart
It might interest you to know that there are two ways to take apart a recliner. In this article, we will discuss these methods you can apply when taking a recliner apart.
Release Locking Levers – Method 1
The first method you can employ when taking apart your recliner is to release the locking levers. The steps below show you how to do so.
Step 1: Incline the recliner forward
Tip the recliner until the back is directly facing the ceiling. Make sure the chair is firmly resting on the floor while in this position.
Step 2: Raise the upholstery strip at the back
For many recliners, the upholstery at the back can be removed to reveal the chair’s inner frame. You will need to raise this upholstery if you wish to take your recliner apart.
To do this, look for the Velcro snaps or strips that hold the chair’s fabric onto the chair’s base. When you have removed these, raise the upholstery panel to reveal the chair’s frame.
NOTE: Not all recliners have a removable panel that reveals the chair’s frame. If your recliner is one of such, don’t panic, just keep reading.
Step 3: Find the locking levers at the back of the recliner
Look for the back locking levers. They can be found at both sides of the recliner’s seats at the point the top part of the chair’s arm and the back are connected.
If your recliner is designed with a center console, these levers should be located between the seats and the frames.
For recliners that do not possess removable rear fabrics, follow this process to locate the locking levers.
Place your hands inside and feel for the locking lever in the rear seam at the right and left sides of the chair. You can also search the seams in-between the seats and the center console if your recliner is designed this way.
Step 4: Raise the locking levers
Now that you have located the locking levers, you will need to raise them. If the levers feel tight, you can loosen them with a screwdriver (flat-head).
After loosening them, raise every lever to release the back seats. Once you’ve unlocked the levers, set the recliner to its original sitting position.
Then carefully raise the back of the chair from the frame.
If your recliner is designed with a center console, take out each seat as well as the console one after the other from the frame.
Remove Bolted Bars – Method 2
The second method you can employ when taking apart your recliner is to remove the bolted bars. The steps below show you how to do so.
Step 1: Incline the recliner forward
Tip the recliner until the back is directly facing the ceiling. Make sure the chair is firmly resting on the floor while in this position.
Step 2: Find the base bars
Once in this position, check under the recliner for base bars. There are usually 2 or 3 of them and they are bolted or screwed to the chair’s base.
Step 3: Remove the bars’ bolts
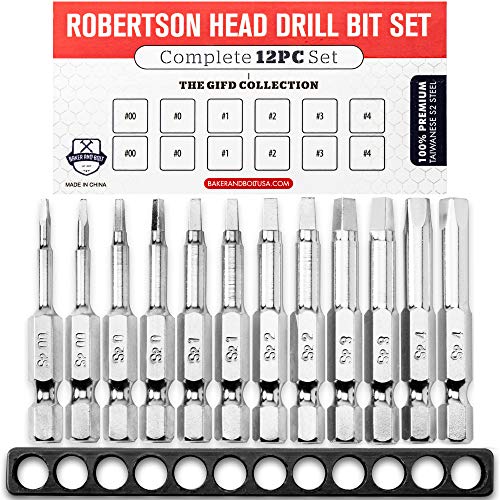
Using the appropriate bit, remove the bolts with a drill from the bars.
In most cases, recliners make use of Robertson drive screws; hence you will require Robertson drive bits. The Robertson Square Drill Bit Set will be helpful.
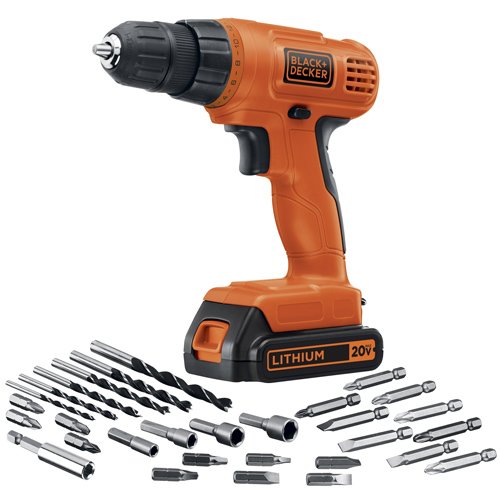
A power drill that will work well with the bit set above is the BLACK+DECKER 20V MAX Cordless Drill.

Step 4: Take out the last bar
Since the bars are what hold the individual seats together, when the last one is removed, the seats will fall apart without restriction.
Therefore, it is advisable you have someone helping you when removing the last bar. The person will simply hold the recliner stable so that the seats don’t get damaged or damage something in the process.
Watch the video below.
Reassembling Your Recliner
In the 2004 movie “Fat Albert”, the title character said, “Falling is easy, but getting up is the hard part”. This is true when it comes to taking apart and reassembling a recliner sofa.
The reassembling can be quite confusing for many. That is why we decided to include this bonus section and guide you on how to reassemble your recliner after taking it apart.
Step 1: Take pictures while you take apart the recliner
All through the disassembling process, take pictures. You don’t need a high-tech camera to do so; your smartphone will suffice.
Doing this will allow you to remember where what and what was taken from so that you know where to put them later.
Step 2: Keep each set of hardware in different plastic bags
This is common sense actually. This action will ensure you don’t lose these essential items.
Keeping them separately will allow you not to mix them up because screws and bolts can look somewhat the same.
Also, when you keep bolts, nuts, screws, washers, etc. in different bags, it allows you to easily sort through them.
If you don’t have plastic bags, you can keep these items in small containers.
Step 3: Labeling helps a lot
The parts removed from your recliner can be labeled so that you’ll remember where they fit.
Step 4: Incline the recliner forward
Tip the recliner until the back is directly facing the ceiling. Make sure the chair is firmly resting on the floor while in this position.
If you used the first method to take apart your recliner, follow steps 5 and 6 to reassemble your chair.
Step 5: Set the recliner’s components
To reassemble the seat, put the recliner in its normal sitting position. Then slide each seat into the chair’s frame. Make sure it is well placed.
Step 6: Return locking levers to their original position
Find all the locking levers. Then return them to their original position. This will hold all the seats firmly in place and attached to the chair’s frame.
Once this is done, return your chair to its normal sitting position.
To reassemble your recliner if you used the second method, follow steps 7 and 8.
Step 7: During reassembly, reattach the top base bar first.
Line up the seats beside each other as they were before you took them apart.
Then reattach the first base bar to the seats by drilling in the bolts or screws in. Begin this from the center of the bar and then do the same outward on each side.
Step 8: Reattach other bars
After reattaching the first bar, do the same for others following the same process used in step 7.
Once this is done, return your chair to its normal sitting position.
If you seek to get a replacement for your recliner for any reason, allow us to recommend the Homall Recliner Chair.
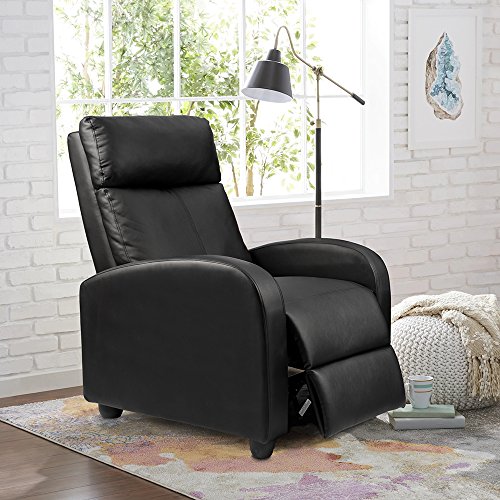
- Made with PU leather of high quality that can be cleaned easily and is comfortable to the skin.
- It offers you super comfort. The recliner has a push back design with a footrest that can be adjusted to suit you. The armrests are wider, larger seat cushion and a thicker back.
- It is supported with a frame made of durable steel with an upgraded footrest. Allows you to enjoy your TV shows.
- Four solid feet that protect your floor and the sofa supports this sofa. This feet have non-marking pads.
Prices pulled from the Amazon Product Advertising API on:
Product prices and availability are accurate as of the date/time indicated and are subject to change. Any price and availability information displayed on [relevant Amazon Site(s), as applicable] at the time of purchase will apply to the purchase of this product.
Conclusion
With any of the methods above, taking apart a recliner should be no big deal for you. Just make sure you apply the right method depending on your chair’s design.
If you have any questions, please let us know in the comments section.