We can all agree that Adirondack chairs are one of the most comfortable cushion-free chairs. Adirondack chairs also provide additional beauty to your garden or yard.
If you are here, you already really want one of these beauties. You may be unsure of the possibility of making it by yourself. And that’s why we are here, to erase your doubt.
With that being said, read on to learn how to build Adirondack chairs.
It will not be a stress-free ride. You may have to spend nearly half of the day working on it. But we can assure you it is 100% doable.
You Will Need These Materials
i. 1 cedar top back rail
ii. 1 cedar bottom back rail
iii. 2 cedar side rail
iv. 2 cedar foot
v. 2 cedar cleat
vii. 9 cedar seat slat
viii. 7 cedar back slat
ix. 2 cedar arm bracket
x. 2 cedar arm
xi. 2 cedar front leg
xii. 2 cedar back leg
xiii. 2 cedar leg
xiv. 2 cedar stretcher
xv. 5 cedar slat
You Will Need These Tools Too
i. A jigsaw
ii. Drill
iii. Screwdriver
Quick Tip
You may consider making templates if you plan to build more than one chair. A friend may be really impressed with your work and want one too. Your template will be much appreciated in this case.
We already envision you lounging in a comfy Adirondack. Follow these practical steps and make our (yours and ours) dream come true.
Step 1: Making the Seat
Place your side rail on the stock and use a jigsaw to cut along the lines.
Cut your back rails. Carve out the chair back by sawing the curves. The shape should be shaped like a concave. Cut the top bar in the shape of a square.
Make the slats of the seat. Do this by cutting it to size, then round each upper edge. Also, round all exposed edges of the back and side rails.
Due to the seat’s shape, almost all the slats need bevels on the edge. To cut out the bevels, use a hand plane or a table saw.
Assemble your seat. To do this, screw the back rail to the sides of the seat. Use a screw on each rail end. Attach the fourth slat, use just a screw on each rail end.
Adjust the sub assembly till it’s a perfect square. When you feel it is good enough, use another screw on each rail end. This will keep all the pieces locked in place.
With a 1-in-thick block create a spacer where you will place the back seat slat.
Now attach the rest of the slats. Do not measure the spaces. Due to the curvy shape of the seat; most of the slats have angled edges. Measuring the spaces will give an un-uniformed appearance.
Make your front legs: cut it to size then smoothen the edges. Mark the bottom edge of both legs with a line. Now screw from inside the side rails out to install the legs to the already assembled seat.
Step 2: Attaching the Back
When attached, the back slats are often shaped like a fan. This is achieved by tapering the back slats.
Cut each slat so that one side edge is wider than the other. Make the surfaces and edges smooth.
Make the back legs. Cut it to size and attach each leg to the side rail. Now attach the back rail to the end of each back leg.
Turn the chair upside down and attach the back slats.
Put a 4-in block underneath the higher back rail. This will give space for the back slats. Attach the center back slat to the middle of the bottom and top back rails.
Attach the remaining outer slats.
Step 3: Attaching the Arms
Make the arms: cut it to size, also cut out arms supports. Make the edges smooth.
Now install the arms.
check out this article for a fun DIY project.
Step 4: Finishing
Using 120 grit sandpaper, sand your chair. Do this as lightly as you can.
You should know that unlike hardwood and pine, cedar is an oily and soft wood. The oily and soft nature of cedar will not allow it sand as good as the other woods.
In other news, you won’t have a smooth silky chair by the time you are done sanding. But there is absolutely nothing wrong with that.
Next, it is time to finish your work. We recommend PPG ProLuxe Premium Wood Finish

Dust the chair to remove the sanding dust. Using a regular bristle brush, make the first coat.
You may coat your piece three or four times. However, you have to leave each coat to dry for at least twenty-four hours before you make another coat.
How To Make An Accompanying Table
Because we are so cool and we think you need a table to complement your chairs, we decided to add this section.
To make your table (this is totally optional), you have to go through the same procedure as with your chair. Every visible edge has to be rounded. Do this on your router table.
Put the feet one inch in. Then cut along the lines using your jigsaw. Cut the rest of the pieces to the measured size.
Install the feet using three screws on each. Once you do that, attach two stretches to each leg using screws.
Next, you need to put the top together. The easiest way to do this is to fix each piece together with a 3/8 inches spacers. Place them between your top slats.
Next, fix the cleats. You have to ensure they are properly spaced. Do this by using the sub assembly of the base. Lastly, attach your top cleats to the base.
- The PPG ProLuxe Premium finish is an alkyd high solids formulation that offers optimum durability and finish
- Sheen: Satin
- Type Translucent
- One product, two coat application
- One product offers two coats application
Prices pulled from the Amazon Product Advertising API on:
Product prices and availability are accurate as of the date/time indicated and are subject to change. Any price and availability information displayed on [relevant Amazon Site(s), as applicable] at the time of purchase will apply to the purchase of this product.
The video below is a visual representation of everything we have discussed.
If at this point you still doubt your ability to build your Adirondack chair, we have a solution. We really can’t go until we are sure your wish becomes a reality.
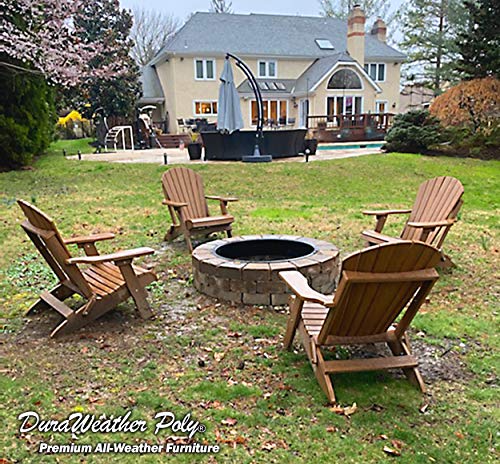
Our solution: If you can’t build it, buy it! We recommend the DURAWEATHER POLY Adirondack Chair.

Conclusion
This article should arm you with all you need to build Adirondack chairs. And convert your yard or garden into a much-coveted one.
Do you have any questions or comments? Let us know in the comment section below.