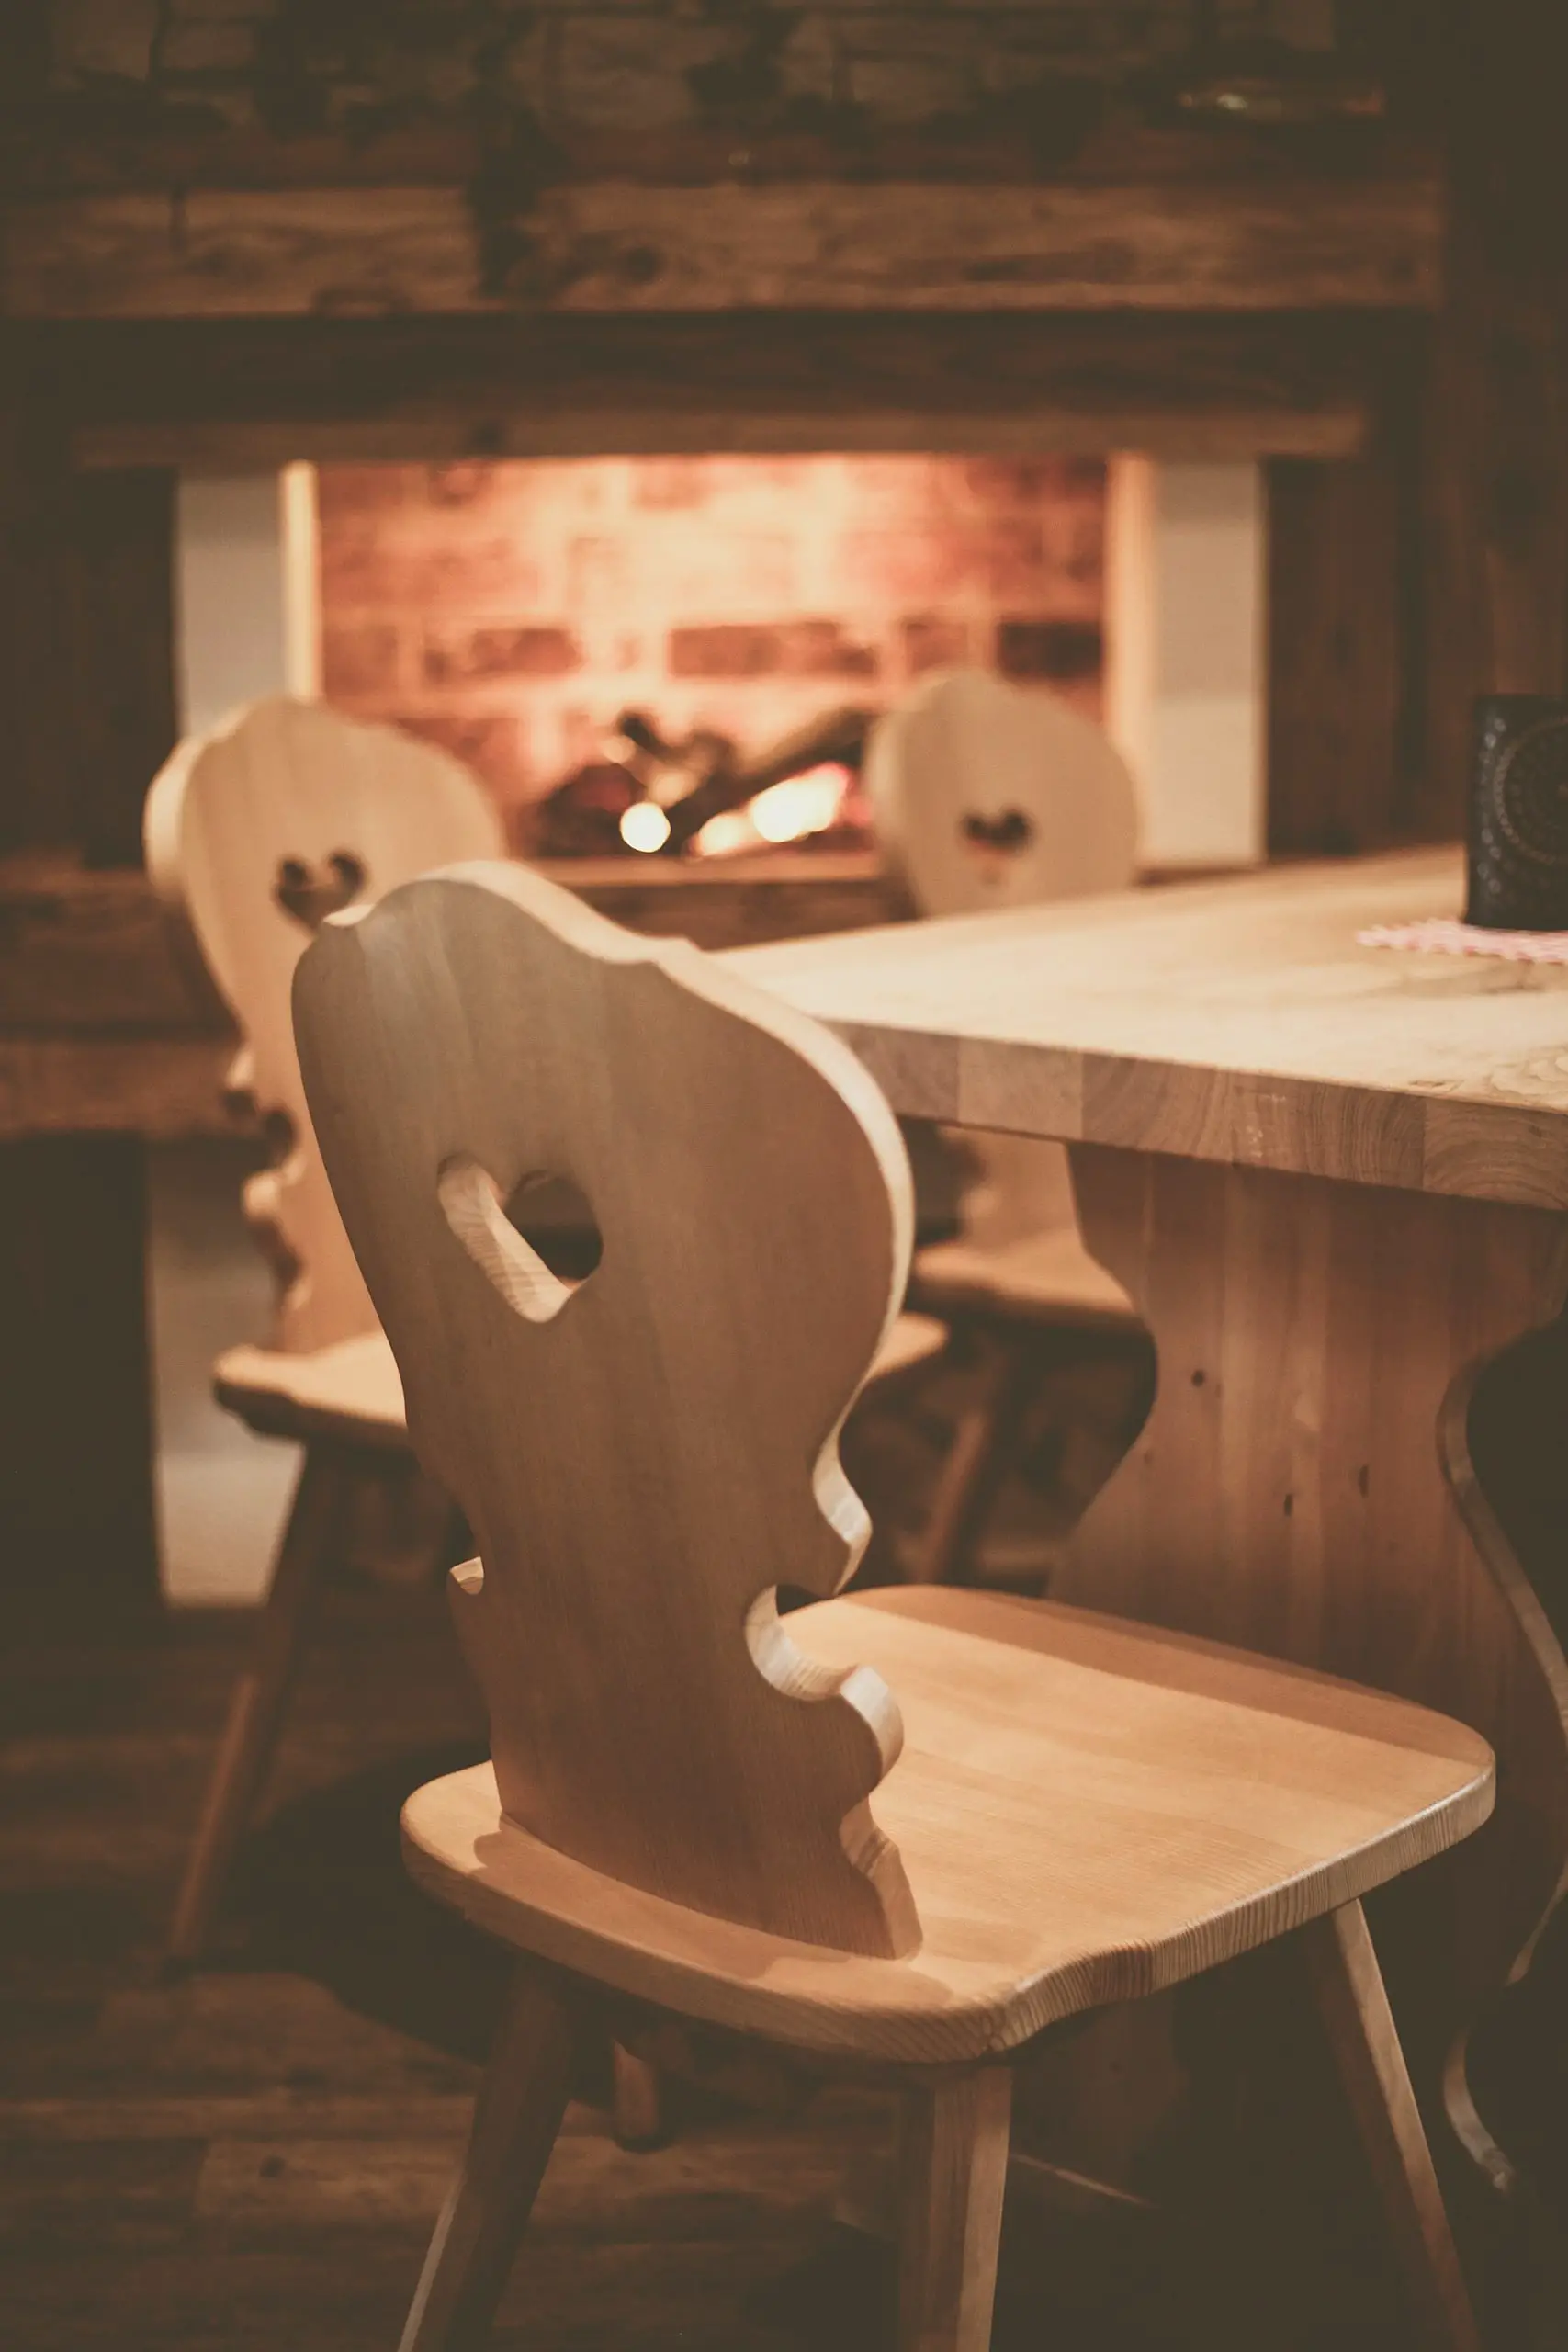

Wood chairs are a piece of staple furniture in most homes. They might serve as your dining room chairs, kitchen chairs, or even backyard chairs.
These pieces of furniture are known to be resilient and durable; however, this doesn’t mean their look can’t be damaged. Scratches, nicks, dings, and messy stains are major culprits.
To restore them to their former glory, you must know how to refinish wood chairs. But you most likely don’t know how to do so but don’t worry, that’s what this article is for.
This post will guide you in easy-to-follow steps on how to refinish your wooden chairs. You don’t need to be a professional to make your chair great again.
Needed Items
This little DIY will require the following items:
i. Respirator
ii. Newspaper or plastic drop cloths
iii. Rubber gloves
iv. Stripping Gel
vi. Toothbrush
vii. Stripping after wash
viii. Scouring pad
ix. Grit sandpaper (120 and 220)
x. Bristle brush (High quality)
xi. Pre Stain Wood Conditioner
xii. Stain
xiii. Clean rags
xiv. Cloths (Lint-free)
xv. Polyurethane
Steps to Refinish Your Wood Chairs
Follow these steps carefully to refinish your wood chairs.
Step 1 – Arrange the work area
Your work area has an important role in the success of your little project. What you need is a warm, dry, well-ventilated area to serve as your work area. A garage is a very suitable area that you can make use of.
As much as you need adequate ventilation, this is not a project to be performed outdoor. This is because dirt and dust might enter the stain during the staining process.
To protect your floor from any kind of stain while you work, cover it with newspapers (Nope, you won’t be reading them). Or you could make use of plastic drop cloths.
Failing to protect yourself while you protect your floor is unwise. Therefore, use a respirator while you work. The dust and even the smell of the stain can be harmful to the body.
Also, you need to wear rubber gloves like the Cleanbear Synthetic Rubber Gloves to protect your hands.

Step 2 – Strip the former finish
Now that you’ve set up your work area, the next step is to strip the former chair finish. In most cases, the former finish could be lacquer, varnish, paint, polyurethane, etc.
To get this done you will need a stripping gel. Although there are many you could opt for, one that we recommend is the Citristrip Paint & Varnish Stripping Gel. It is quite effective and produces low fumes, unlike many other stripping gels.
Now that you have your stripping gel, use a brush to apply it lavishly to the wooden parts of your chair (That is if it’s not all wood). Try to get every part including cracks.

Step 3 – Allow the stripping gel to dry
After applying the stripping gel, allow it to dry a while.
If you opted for the Citristrip Paint & Varnish Stripping Gel, you’ll find out that the instructions say you can leave it for as long as twenty-four hours before you remove it.
Some users, however, have found out that leaving it that long can cause it to get so dry removing it becomes difficult. This is true for most other stripping gels.
So instead of waiting that long as many have found out, you can wait for just 30 minutes. It is reported to be effective as well as easy to remove. Besides, waiting for 24 hours is a long time.
Step 4 – Do a scrape test
Do a scrape test to verify if the stripping gel has removed the former finish.
To do this, use a plastic scraper to scrape a small hidden portion on your wooden chair.
Step 5 – Scrape away
Once you are sure that the stripping gel has worked its wonders, go ahead and scrape away.
Scrape every part of the chair thoroughly. Be very meticulous about it else you’ll have some issues when you get to the next steps.
To ensure that every nook and cranny is scraped, take a toothbrush and removed the stripping gels hidden in cracks. This is after you’re done using the plastic scraper.
If the former finish fails to come off properly, you can go ahead and apply the stripping gel a second time and repeat the process.
Step 6 – Apply a Stripping After Wash
Once you are done scrapping to the best of your ability (you can’t remove all), apply a stripping after wash to help you out.
To apply the after wash, dip a scouring pad into the after wash and then rub in on the wooden parts of the chair. This would get rid of the remaining stripping gel.
Note: You can decide to skip this step; however, it makes the next step a little bit easier.
Step 7 – Sand your chairs
Take the 120-grit sandpaper and sand the wood chairs as well as you can.
While you do this, clean the chairs with that lint-free cloth we asked you to get. Doing this will help you notice snags; this way you can focus more (sanding) on those areas.
After you’ve used the 120-grit sandpaper on the entire chair, take up the 220-grit sandpaper. Use this to sand the entire chair to finish this step.
Use sharp toothpicks to help you clean out areas that are difficult to reach (like wooden joints) with the sanding paper.
Do this for all your chairs if you have more than one to refinish.
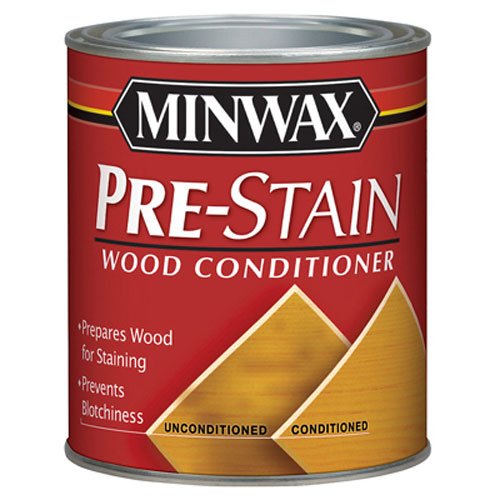
Step 8 – Pre-stain your chairs
Apply the pre-stain wood conditioner to your chairs with a brush to allow an even absorption of the stain which you’ll apply next. A pre-stain we are sure will give you the best result is the Minwax 61500444 Pre Stain Wood Conditioner.
Allow the pre-stain to sit a while for some minutes before carrying out the next step. But make sure you clean any surplus pre-stain with a clean rag before it gets dry.
Don’t skip this step especially if you are working with a softwood like cedar, pine, Douglas fir, juniper, etc. Softwoods do not readily absorb the stain like hardwoods.
How to apply the pre-stain wood conditioner depends on the brand. So check the product’s directions to learn how to use it.
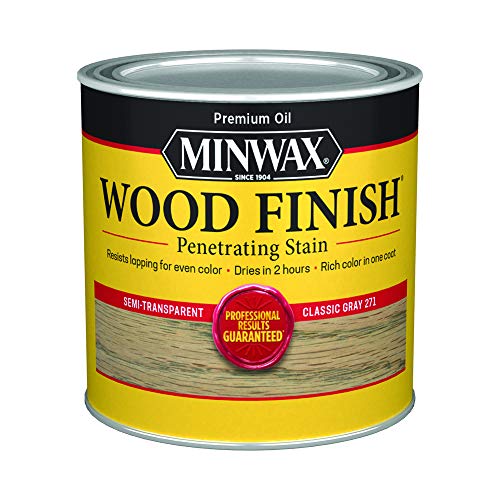
Also, the stain you want to use would determine the kind of pre-stain you use. For example, if you’ll be using an oil-based stain like the Minwax 227614444 Wood Finish Penetrating Interior Wood Stain, make sure an oil-based wood pre stain wood conditioner is used. This is very important; using different based products (oil and water) won’t blend well.
Step 9 – Do a stain test
Locate an area that is not too visible on the chair; the underside preferably and perform a stain test.
Just dab a small portion with the stain you acquired. This will give you an idea of how long you are to allow the stain on.
The longer the stain remains before wiping off any surplus, the darker it appears.
- Can be obtained in 28 different colors.
- Can be used to beautify any stripped or bare wood surface.
- Suitable for staining wood furniture, wood door, cabinets, molding, hardwood floors, and trim.
- Deep penetration to highlight and reveal wood grain
Prices pulled from the Amazon Product Advertising API on:
Product prices and availability are accurate as of the date/time indicated and are subject to change. Any price and availability information displayed on [relevant Amazon Site(s), as applicable] at the time of purchase will apply to the purchase of this product.
Step 10 – Stain your chairs
Once you are sure of how long the stain must remain, the next thing is to apply the stain to your chairs.
Use a clean rag or a bristle brush for the application of the stain. The former works well for flat surfaces, while the latter works on carvings and irregular surfaces.
If there are any streaks or drips while applying the stain, make sure you brush over them immediately. This will prevent them from becoming darker than other stains thereby ruining the refinish.
Step 11 – Let the stain set
The stain test you performed will determine how long you want the stain to set. It shouldn’t take more than some minutes.
Once it has set, clean any surplus stain with the clean lint-free cloth. It is advisable you have enough lint-free cloths because they can get dirty easily. You need them more if you are refinishing more than one chair: A rag per chair is the minimum requirement.
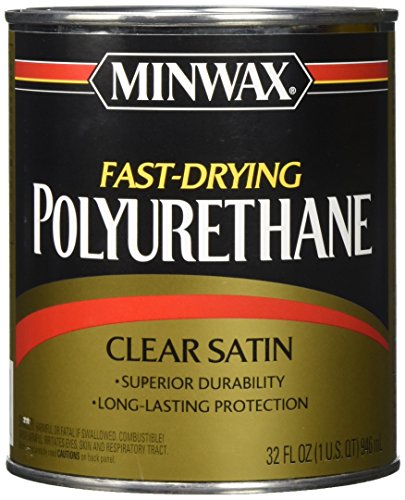
Step 12 – Apply Polyurethane
Allow the stain to dry. Once that happens, apply polyurethane using a foam brush as a protective finish. Then allow it to dry for at least a day or more before using it.
While you wait, you can take out the time to work on your chair’s seat; that is if it isn’t all wooden. This article will guide you on how to reupholster your seat.
If you don’t know which polyurethane to get, allow us to recommend the Minwax 63010444 Fast Drying Polyurethane Clear Finish. It will deliver a beautiful protective coating that you would love.
You can decide to apply another coat after the first one. To do this, simply sand the chair after the first coat has dried. Then, apply another coat. You can even apply up to four coatings if you desire.
In the same vein, you can still apply the stain again if you feel the initial stain isn’t enough and it needs another coating. Simply sand off the polyurethane and apply the stain. Allow the stain to dry and apply the polyurethane again.
Check out the video below.
Tips
i. Use rubber gloves when you apply the stain. This will prevent your hands from getting discolored.
ii. Make sure you have enough time to work. In other words, avoid interruptions. This project should be done at a stretch. If you allow time between each step you might have an uneven stain. Your materials must also be available.
iii. Do not inhale the dust from chairs; use a respirator. An excellent recommendation is the NASUM M101 Face Cover.
iv. Throw away used rags and any waste in a water-filled, sealed metal waste bin. This will prevent any of the materials from flaming up since oil finishes are very flammable.

Final Words
Refinishing your wood chairs isn’t a difficult task as we’ve shown you. Just follow the steps above and you’re well on your way to having new wood chairs. Well, they aren’t really new but your neighbors will think they are until you tell them.
Is there any part of the article that you didn’t understand? Feel free to let us know in the comments section and we’ll clear the air on that.

