

When you hear of recliners, you immediately think of comfort and relaxation. Little wonder recliners are a popular piece of furniture found in many homes.
As a result of the relaxing effect they offer, recliners are frequently used. While this might be great for the users, it is not for the recliner because constant use will wear it out.
So what happens when your recliner upholstery wears out? Do you throw it out? Of course, you will not. Not when you can simply reupholster it.
Therefore, this article will guide you step-by-step on how to reupholster a recliner. Even if you just want to reupholster your old recliner because they do not match your current home design, these steps will ensure your recliner is well-reupholstered.
Before you begin to take apart your recliner so that you can reupholster it, you must verify the following:
i. Make sure the arms are stable. If the recliner arms are slightly loose, you can tighten them. However, if they are very loose and shaky, your recliner might not serve you long even if you work on it. Then you need to get a new recliner like this modern recliner.
ii. Ensure the reclining mechanism is functioning well. If it is not, you can find out how to fix it in this article.
Do not begin the process of reupholstering your recliner without fixing the issues above.

Factors to consider before reupholstering your recliner
There are certain factors you need to consider before you begin to reupholster your recliner.
The fabric
You must consider the new fabric you intend to use. You must determine the material type, the size, and the pattern.
Choosing linear patterns such as plaid or stripes can prove challenging during the reupholstering process. You are likely to find it difficult to align such linear patterns due to the different removable parts of the recliner.
What we recommend for most recliner reupholstering are plain, floral, or paisley patterns. With such patterns, you will not have to bother about aligning the print pattern.
If you decide to go for a plain pattern, you can still spice things up. You could make the arms patterned or use a different color for any other part of the recliner: Get creative.
Regarding the size of the fabric, it is best you get at least 12 yards of fabric. This is because most recliners will take 8 to 12 yards of fabric.
Disassembling and reassembling your recliner
Recliners are more challenging to work on in contrast to other chairs because of their smaller removable parts.
Therefore, to successfully carry out this project, you need to have a good understanding of how to disassemble and reassemble your recliner.
If you do not have the foggiest idea (like many other folks) how to disassemble and reassemble a recliner, check out this article before you continue with the reupholstering.
We also recommend you take pictures during the entire process. This action will help you when reassembling the chair later on. You can make use of a camera like the Canon PowerShot ELPH 190 Digital Camera; it takes amazing pictures.

Items needed
Some materials and tools will make your reupholstering project possible. In fact, we do not think you will be able to reupholster your recliner without them.
ii. Seam ripper
iii. Staple gun for reupholstering
iv. Hot glue gun
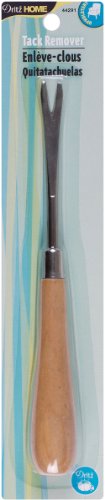
v. Tack remover
vi. Glue sticks
vii. Cover button kit
viii. Needle and thread
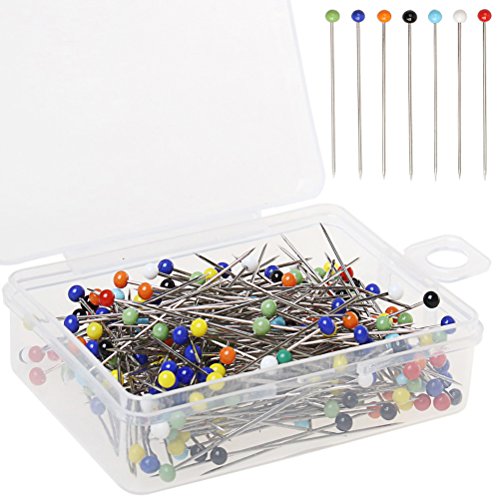
ix. Straight pins
x. Upholstery needles
xii. Screwdriver
xiii. Measuring tape
xiv. Thread (wax coated)
Reupholstering your recliner
Follow the steps below to reupholster your recliner
Step 1 – Take apart the recliner
Before you begin, you need to prepare yourself for what you will find in your recliner when you take it apart. Chairs are known to hide some incredible things. And if your recliner has been in the family for a while, you might just find some family mementos in there.
Now that your mind is ready: Place the recliner in an upright manner, and work on the base to remove the back. Then place the bottom face-up and with the aid of a screwdriver, unscrew the seat. The next thing is to unscrew the armrests before moving to the recliner’s footrest.
We still recommend you go through this article for a more detailed guide on disassembling and reassembling a recliner.
Also, taking pictures at this point might save you from undue stress later on.
Step 2 – Remove the old fabric
Carefully remove the old recliner fabric with a tack remover and seam ripper. Some folks just attach a new fabric over the old one, but this might prevent your recliner from having a smooth finish.
Also, removing the old worn-out fabric can be quite helpful as it can be used as a pattern for your new fabric. Instead of trying to create a new pattern, simply use the old upholstery fabric. You will save yourself a whole lot of stress while getting the perfect fit during the process.
A word of advice: When removing the former upholstery fabric, label the fabric to indicate where they were taken from. For example, the fabric taken from the arm should be labeled as “arm” on the fabric. This will help you when you use it as a pattern.
Step 3 – Cut the new fabric
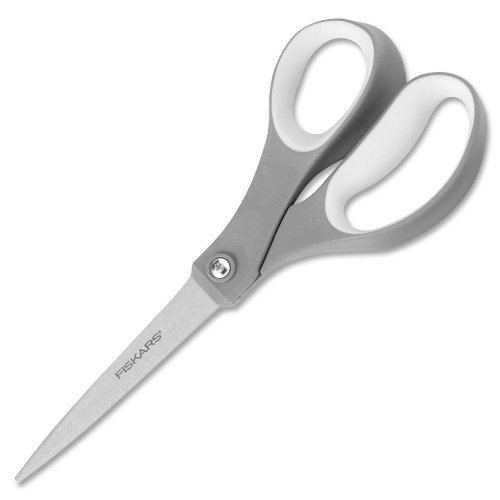
Cut out the new upholstery fabric with scissors using the old fabric as your pattern.
While doing this, make sure you leave allowance (extra fabric along the seams) for the seam when you stitch with the sewing machine. And tucking when attaching the upholstery fabric to the frame of the recliner.
Step 4 – Iron the cut fabric
Ironing the cut fabric will make it clean and straight, thereby making sewing easier.
Make sure the iron is set to the right temperature that is suitable for the fabric.
Step 5 – Hold the fabric in place with straight pins
Before you begin stitching the hem with a sewing machine, hold the fabric in place with straight pins. Make sure the edges are evenly folded.
Step 6 – Fasten the fabric to the frame
Start from the mid-section of the recliner’s frame and fasten the fabric to the frame with a staple gun.
Make sure the new fabric is well-stretched to avoid creases and folds from appearing when you are done. Pay special attention to the corners because such folds and creases are most likely to occur at those points. You can also make use of an adjustable wrench to help you grip the fabric tightly.
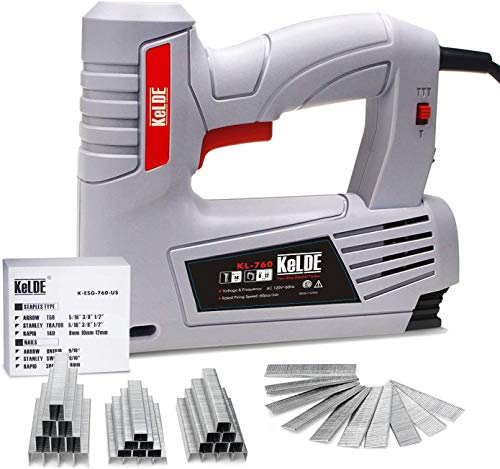
- 【Selectable Drive】- Single-fire or sequential mode. Enhance work efficiency by switching to the nailing mode that suits the work
- 【Never Too Hot】- Designed with a built-in motor that regulates the heat of this machine. This design is an improvement over other electric staples from other brands that use coil structure instead
- 【Widely Use】- Can be used for a wide range of projects as a result of its With 1500 pieces T50 staples (8mm, 10mm, 12mm), 500pcs Brad Nails (14mm length), and 60pcs/min rated firing speed. All this make it the best tool for nailing and stapling fabrics, cardboard, insulating material, leather, foils, corkwood, etc
- 【Safety and Comfort】- Triple lock design mechanism ensures maximum safety: on/off switch, power trigger, and striker pin. This tool can be kept safely at home even where there are curious kids. Its ergonomic handle offers an easy but firm grip
Prices pulled from the Amazon Product Advertising API on:
Product prices and availability are accurate as of the date/time indicated and are subject to change. Any price and availability information displayed on [relevant Amazon Site(s), as applicable] at the time of purchase will apply to the purchase of this product.
Step 7 – Use the hot glue gun
The hot glue gun is used for any area where the staple gun is ineffective. Examples of an area that require the use of the glue gun instead of a staple gun are the cardboard pieces.

Step 8 – Wrap the buttons
Many recliners are fitted with buttons. To cover these buttons, you will need to make use of a cover button kit. By following the kit’s directions, this process is made easy.

Step 9 – Sew back the buttons
To do this, you will need an upholstery needle that is about 8 inches long. You will also need some wax-coated thread.
Insert the thread into the needle and sew the buttons. Make sure they are well secured. Using a wax-coated thread instead of the regular thread will ensure the buttons stay strong without breaking despite the tugging and pulling.

Step 10 – Reassemble the recliner parts
While we may not be able to put Humpty Dumpty together again, we can certainly put a recliner back together.
Having pictures of when you disassembled the recliner will come in handy at this point to serve as a reference and guide.
After reassembling your recliner, you can sit back (literally), and enjoy the fruit of your labor.
Make sure you watch the video below. Everything we have discussed so far is contained in visual detail in this video.
Final Words
Reupholstering a recliner is quite a project if you ask us, but the joy of having your beloved recliner come to life once again is worth it. Plus, you get to brag to family and friends about how creative you are.
We do hope this article has helped you a great deal. If it has, please let us know in the comments section. And if you have any questions, feel free to ask us. We will do our best to answer.

